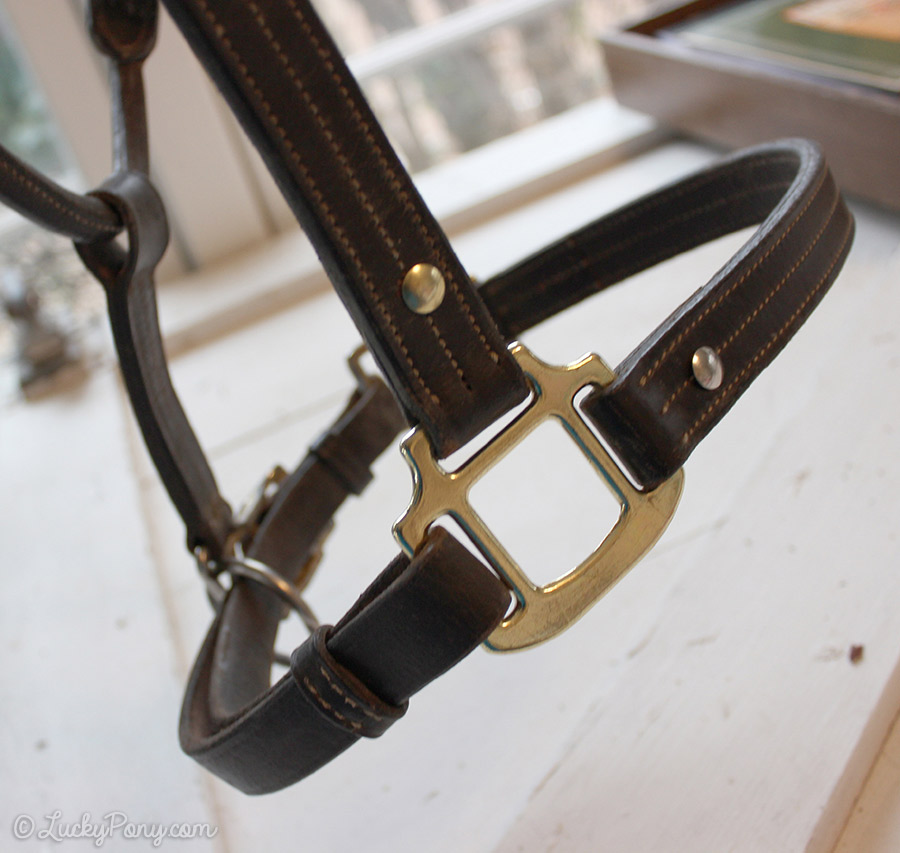
This post is first in an ongoing series illustrating how to use our Horse Halter Repair Parts to repair common damage to broken horse halters. In this series we’ll explore how to use basic replacement parts and tools you already have on hand to repair halters you might otherwise discard.
A few weeks ago I put out the call for broken leather horse halters and the local pony club responded- with one of the most challenging halter repair jobs- a broken halter square! Typically, a broken halter square destines a halter for the trash or an expensive repair by a leathersmith, but in this post I’ll illustrate how 10 minutes and less than $5 in parts can restore this ruined halter for many more months or even years of use.
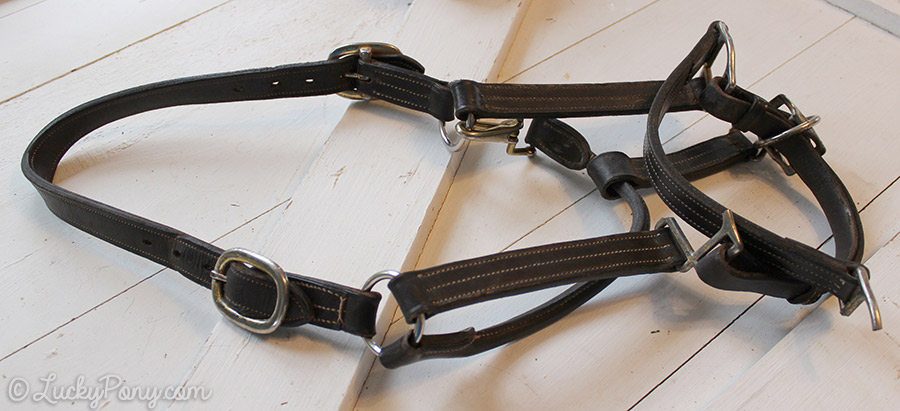
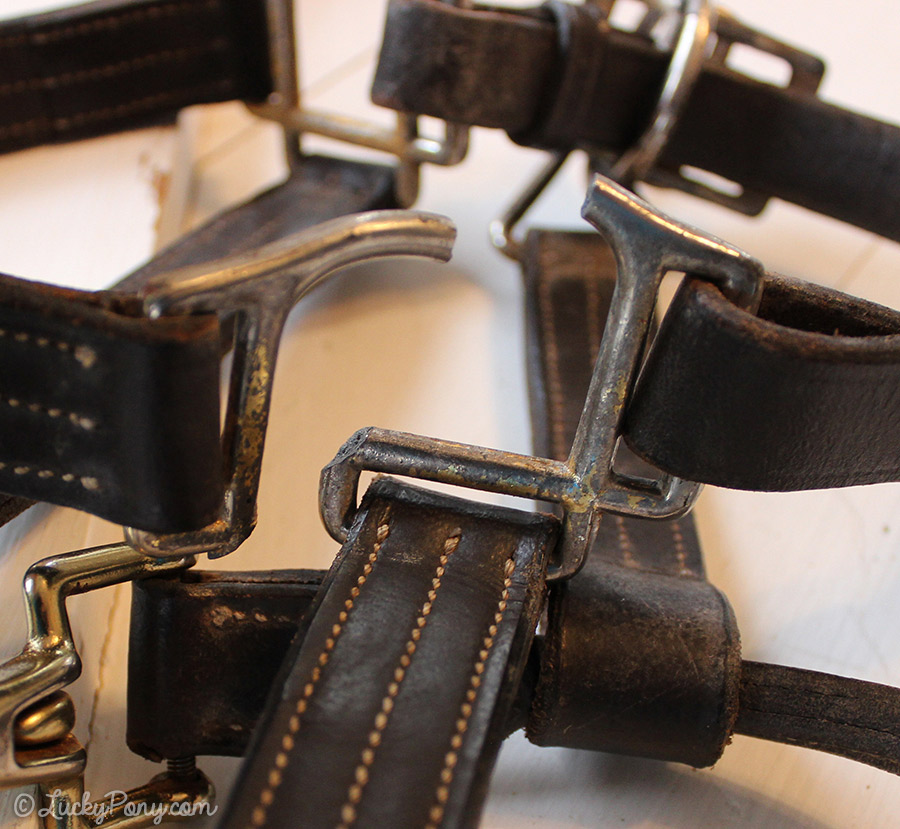
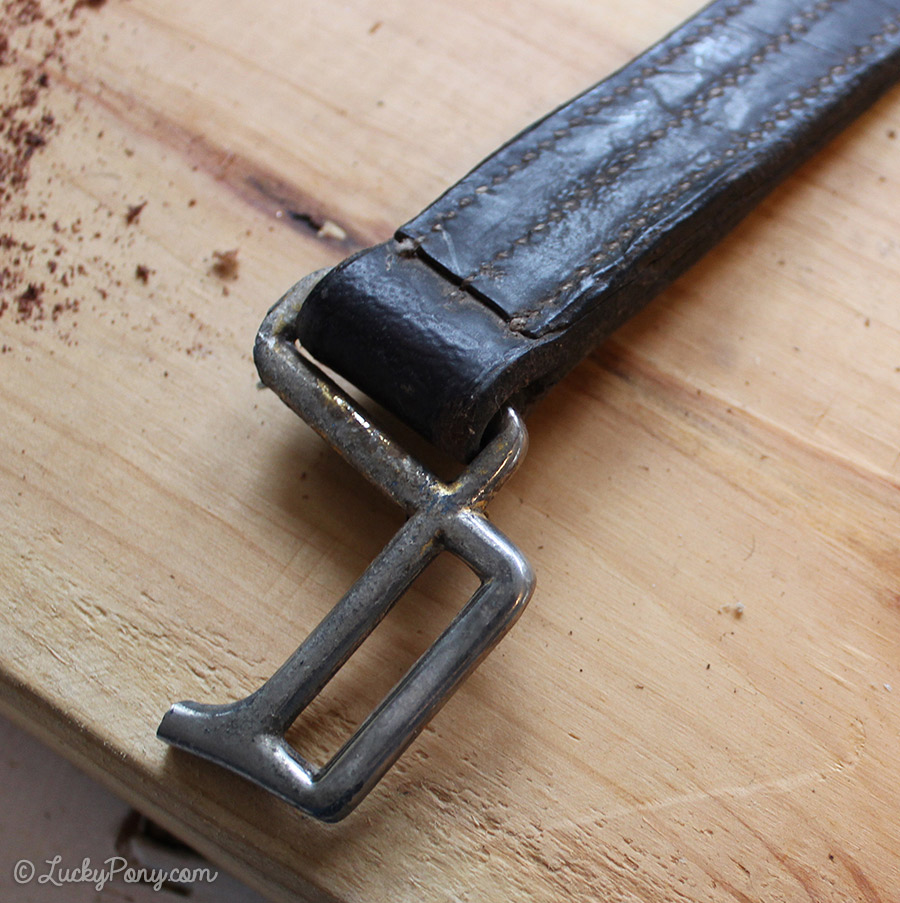
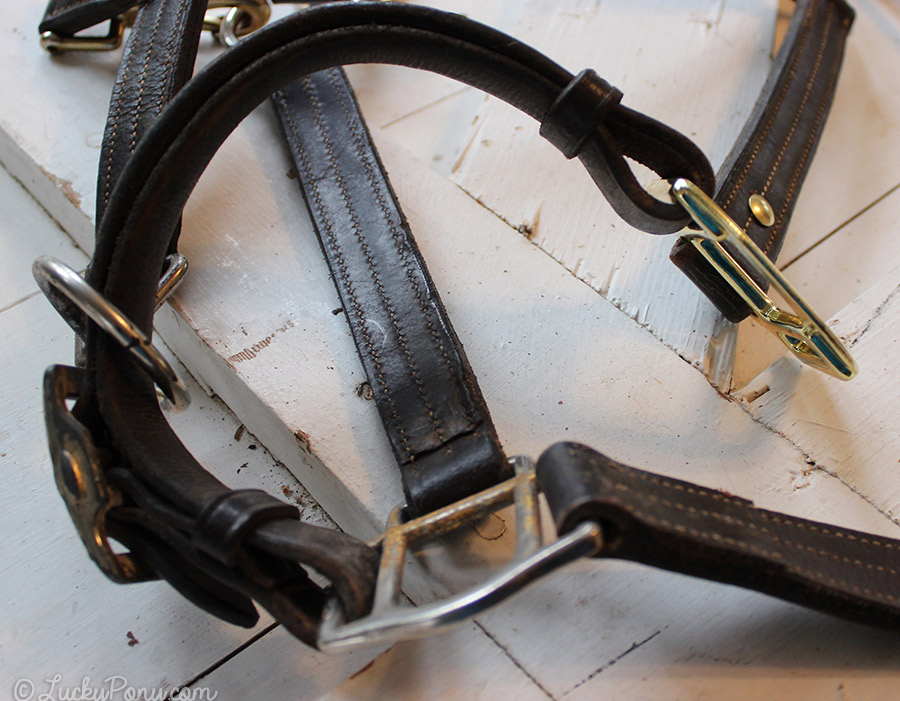
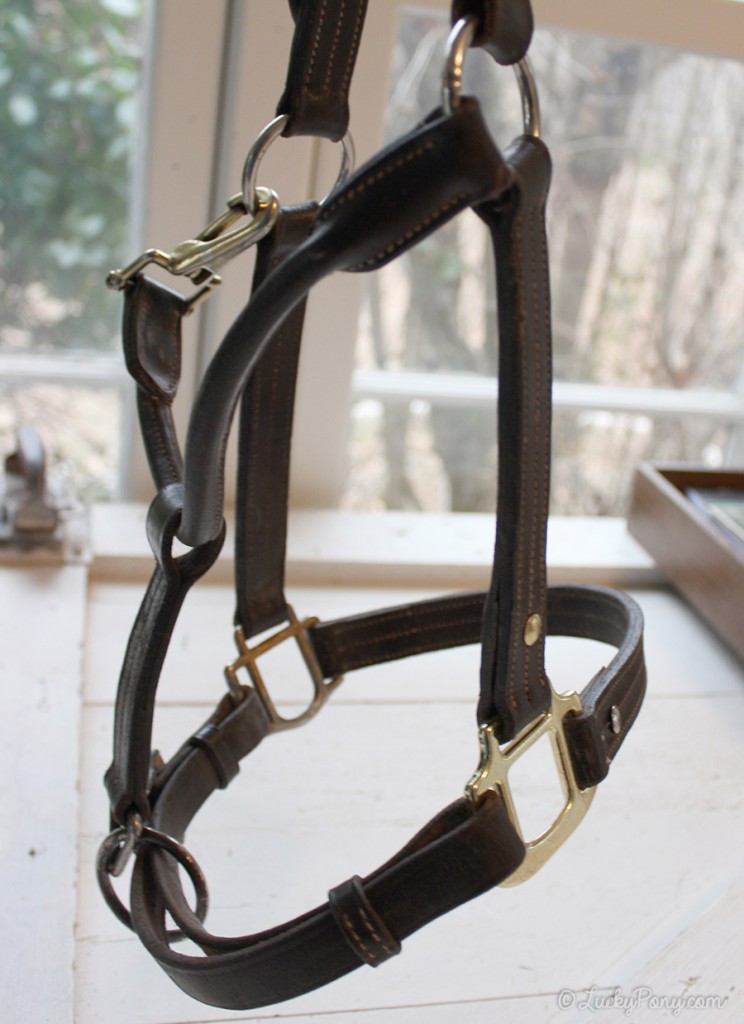
Here’s the patient. A little rough from turnout use but still going strong, till the fatal halter square break:
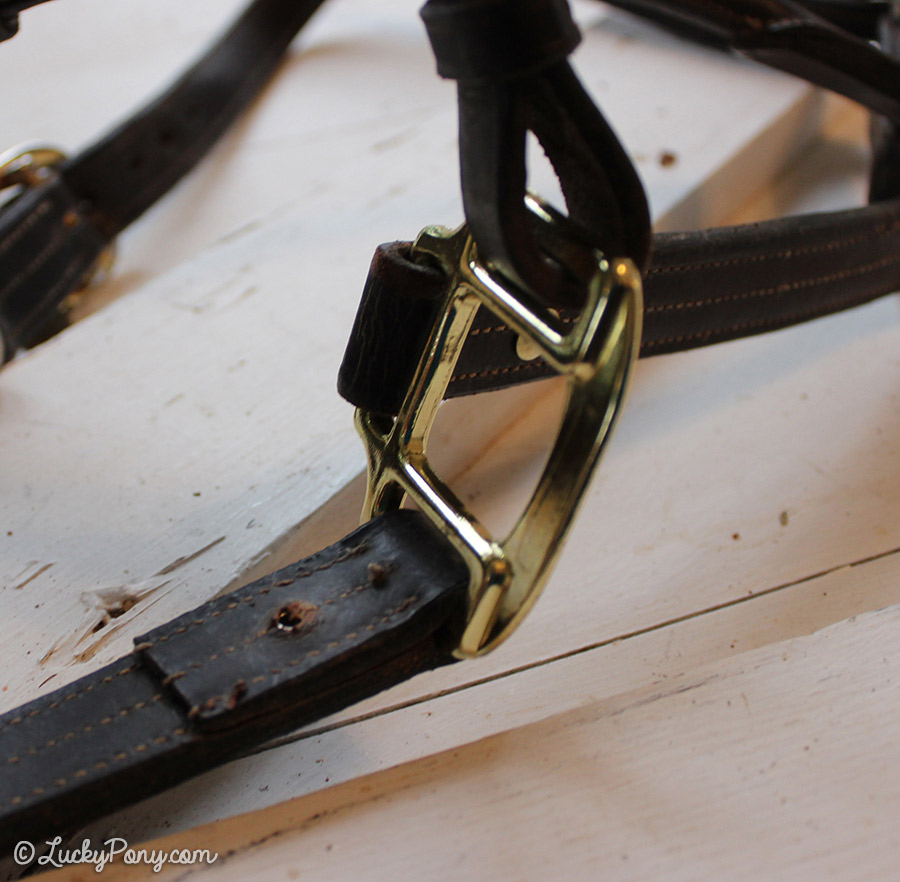
A closeup of the area we’ll be working on. The halter square is located where the cheek piece of the halter, the noseband, and the chin meet.
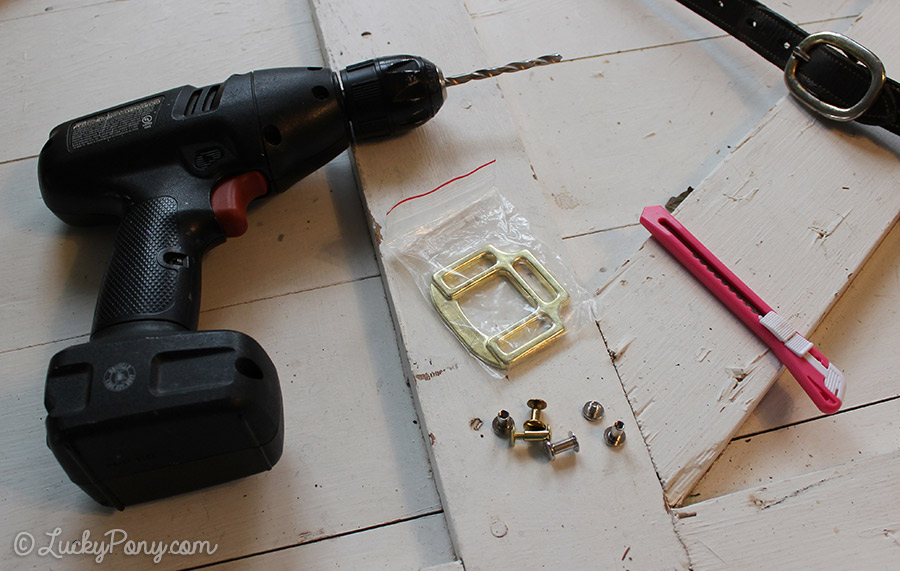
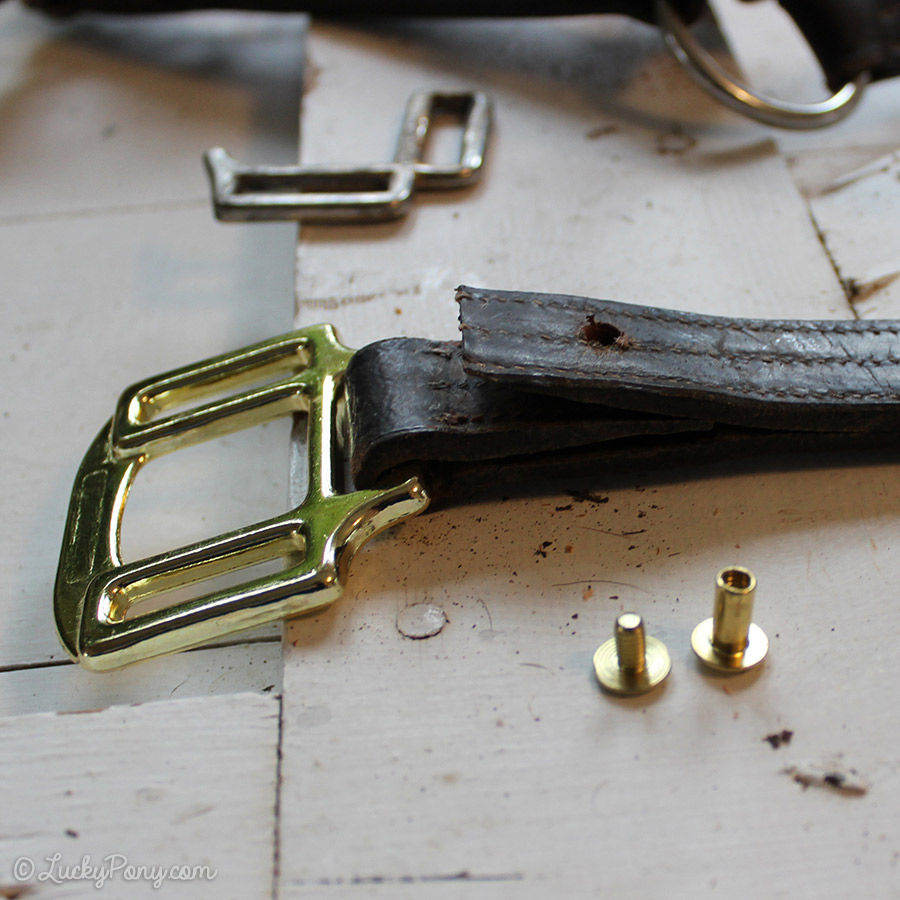
TOOLS/PARTS NEEDED
1 A new halter square, preferably in a metal finish to match the existing hardware on your halter.
2. Chicago Screws – You’ll need to be sure your chicago screws have posts long enough to reach completely through the thickness of the leather at the cheek and nose band.
3. A drill with a bit slightly larger in diameter than the post of your chicago screws.  You can use a hole punch, however when working with three layers of full grain leather on a halter, I feel like a drill does the job just as well with  much less effort. (Tip, if your halter is very soft/oiled the drill may want to twist the leather, if this happens try freezing you halter in the freezer for 1-2 hours and trying again on the stiffened leather)
4. A SHARP blade.
5. (Not pictured) a flathead screwdriver for securing chicago screws.
Optional Items:
superglue (to secure chicago screws more permanently)
a high adhesive, flexible-drying glue (to help prevent cut stitches from unraveling)
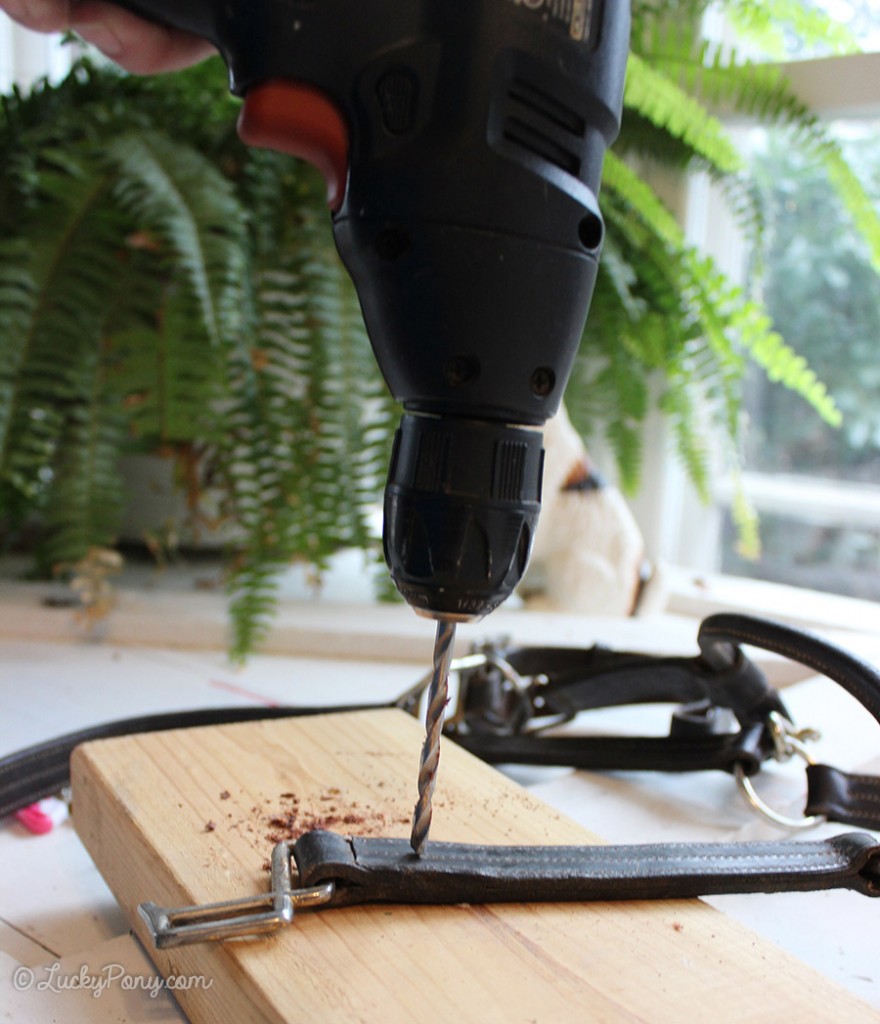
1. Before removing the broken hardware, I prefer to go ahead and make my holes for the new hardware.┬á I’m starting with the cheek. Lay your halter out on a surface that can be damaged (I used a scrap of 2×4)
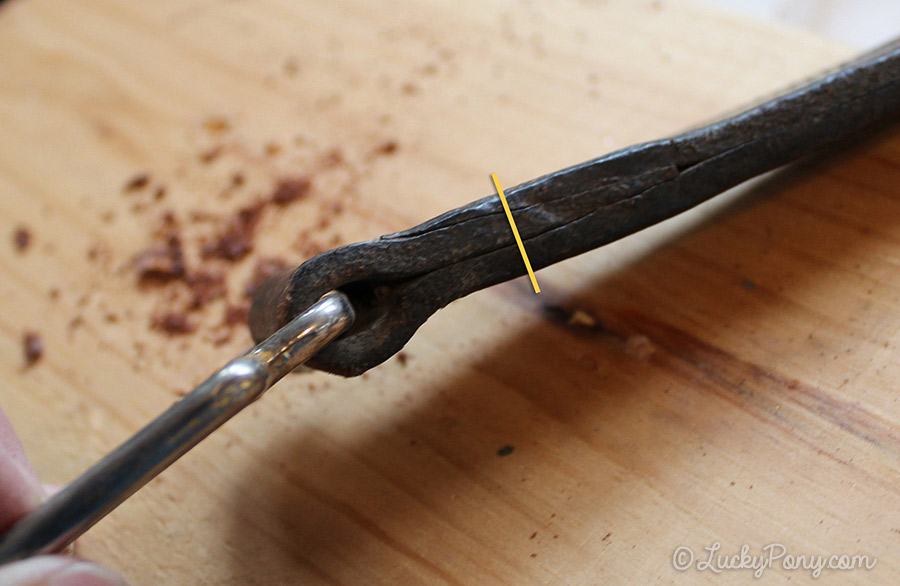
You’ll want to be sure and drill a hole at a point where the hole will be centered as it penetrates 3 layers of leather, as illustrated:
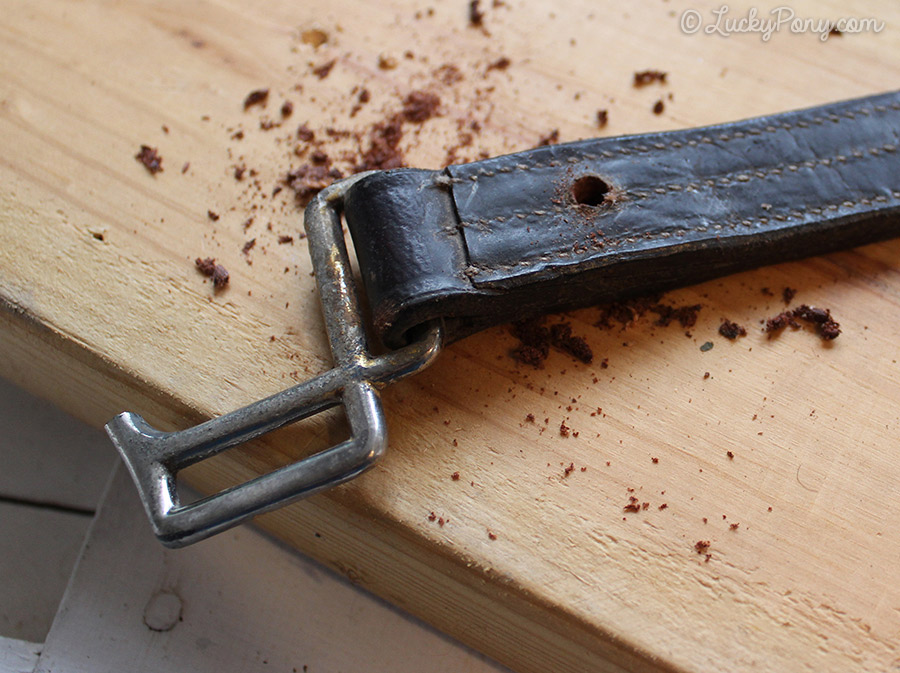
Mark the spot, then drill a hole completely through the thickness:
You may need to wiggle your drill bit to be sure to create a clean hole on both sides. It’s important not to have excess leather fibers in or around the hole, as it can make it harder to tighten the chicago screws,
Step 2.
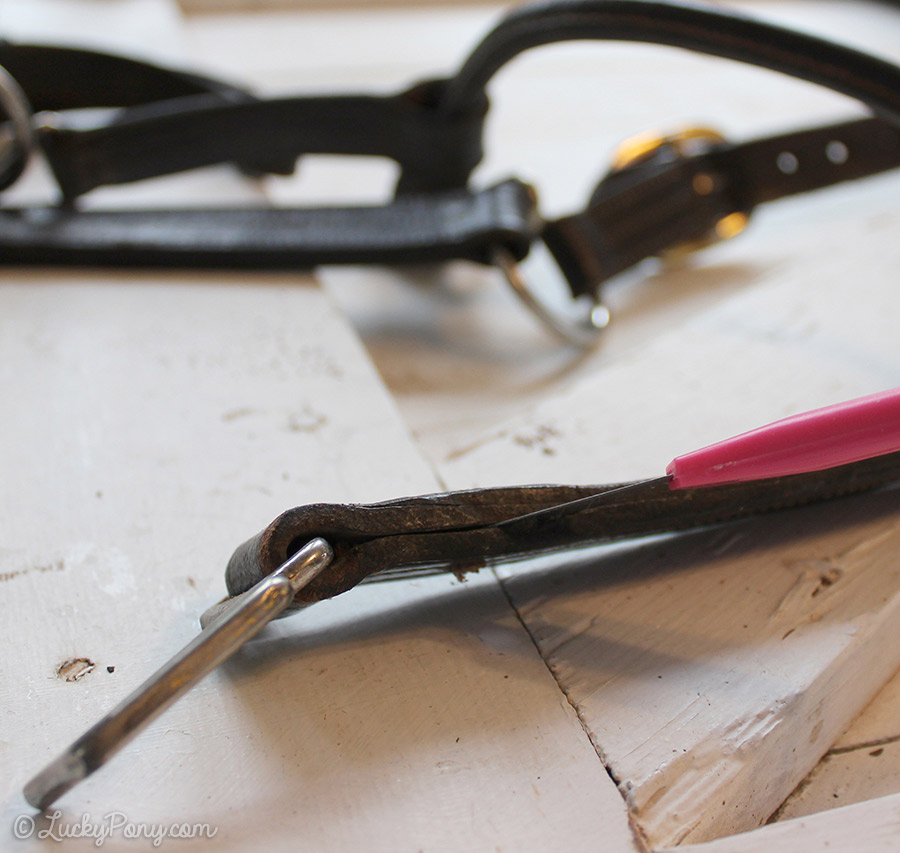
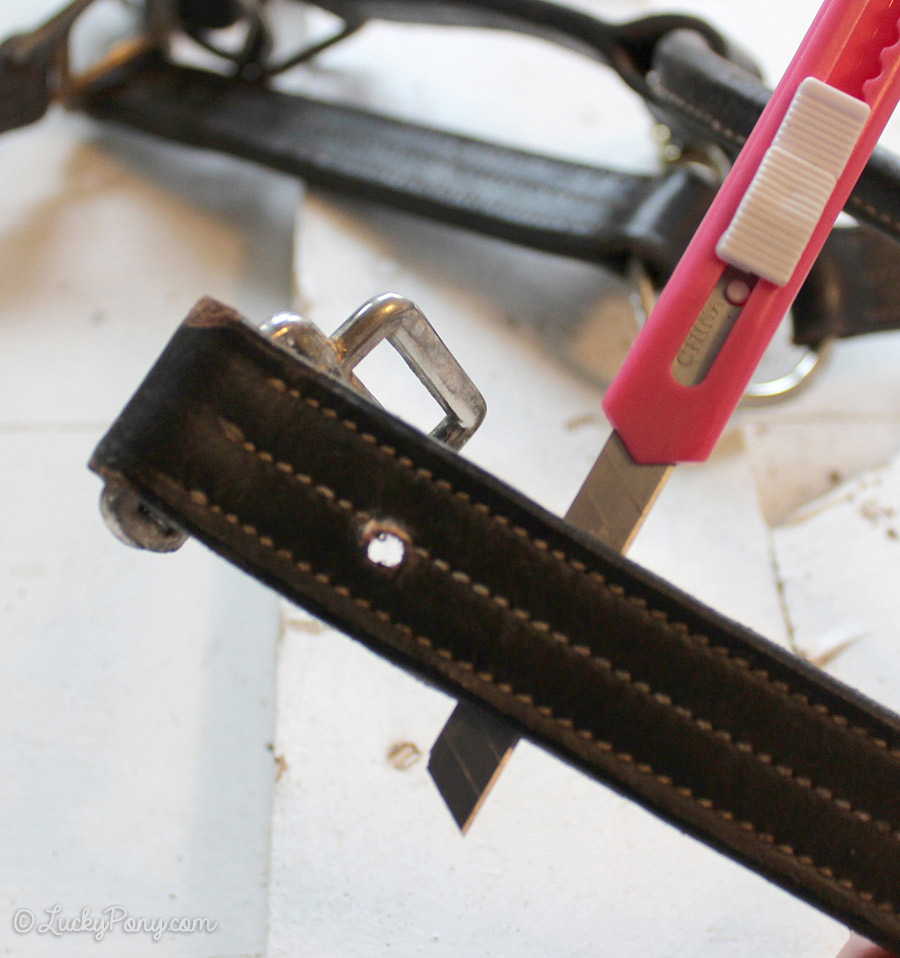
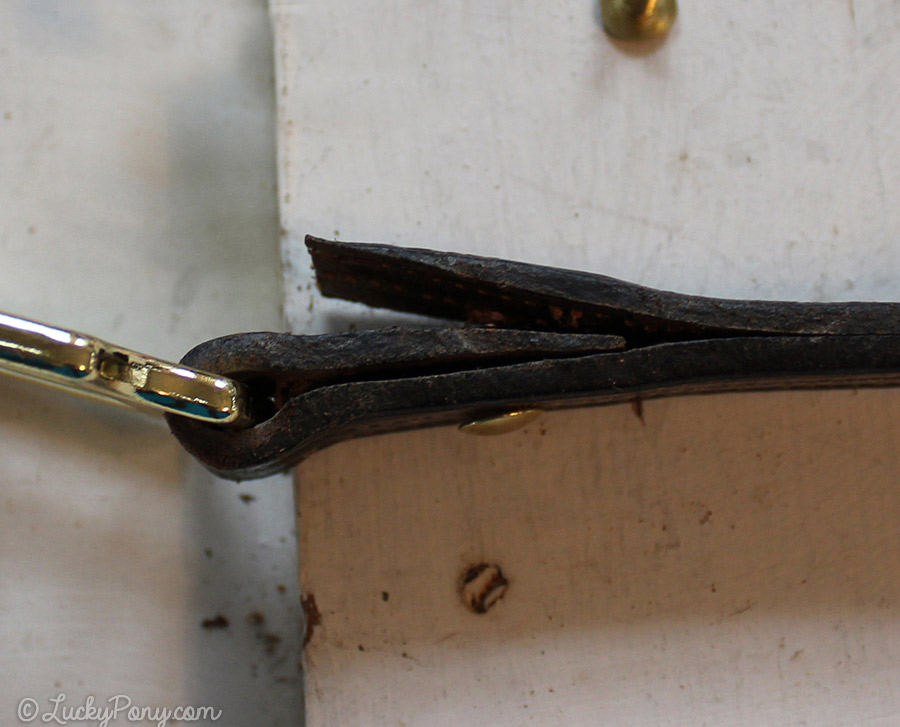
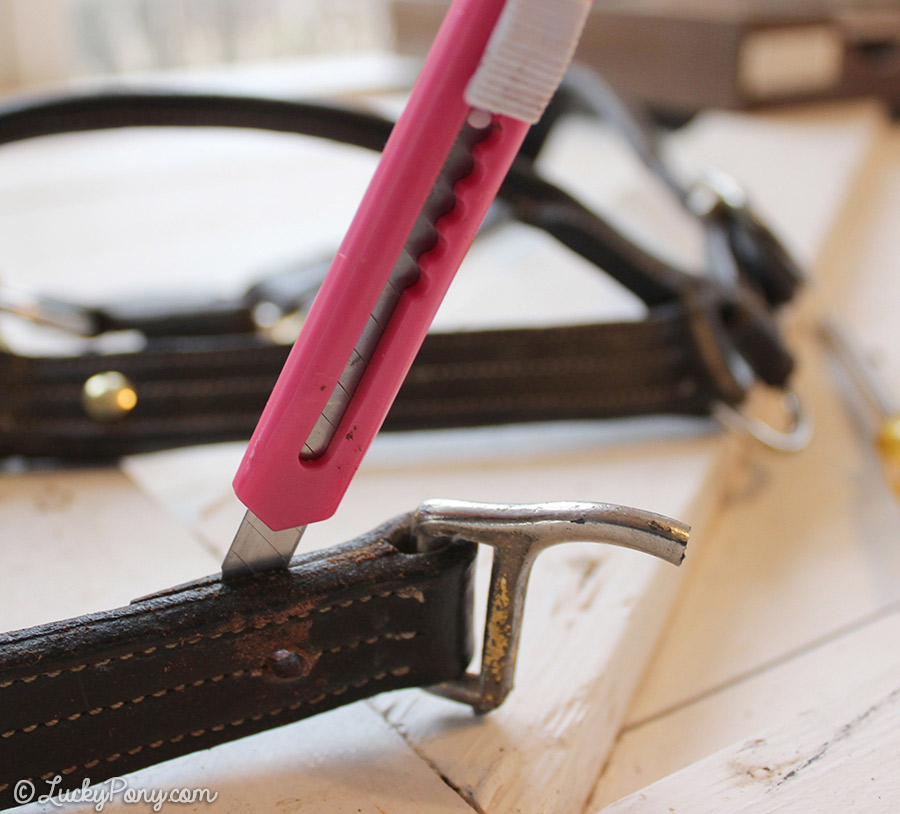
Now that the holes have been added for the chicago screws, you’ll need to remove the stitching that holds the broken hardware in place. VERY carefully, always cutting away from yourself and working on a safe, stable surface, insert the blade into the space between the layers of leather and slice through the stitches.
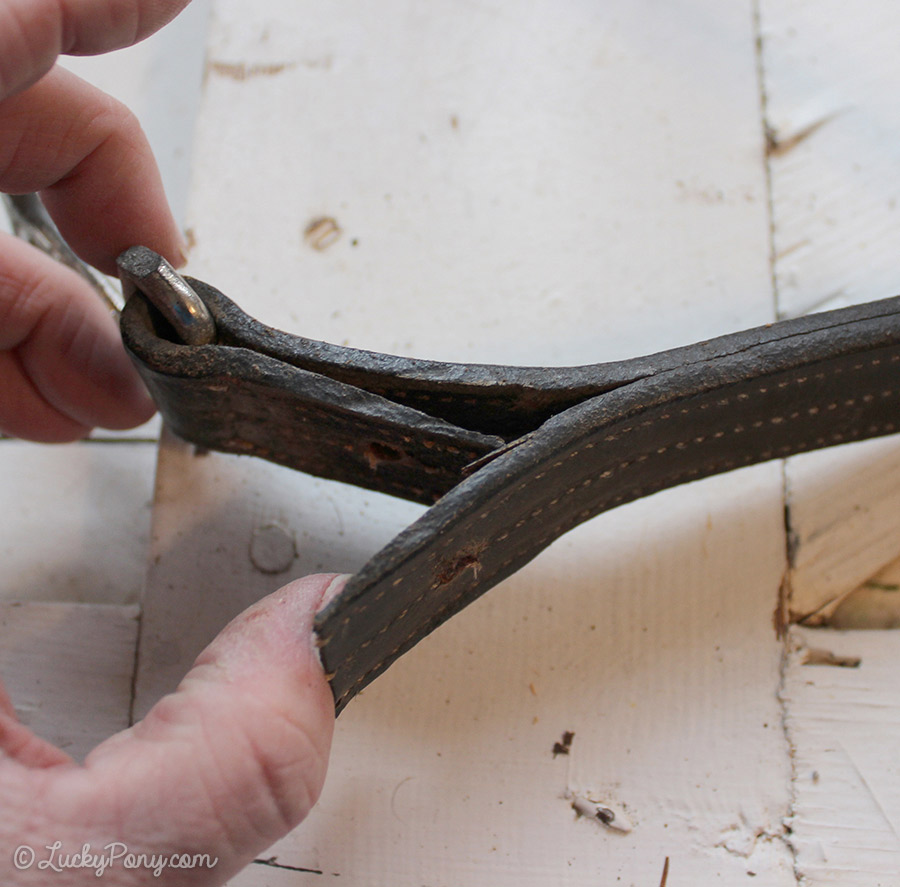
You’ll need to cut completely through, removing all the stitches securing the halter
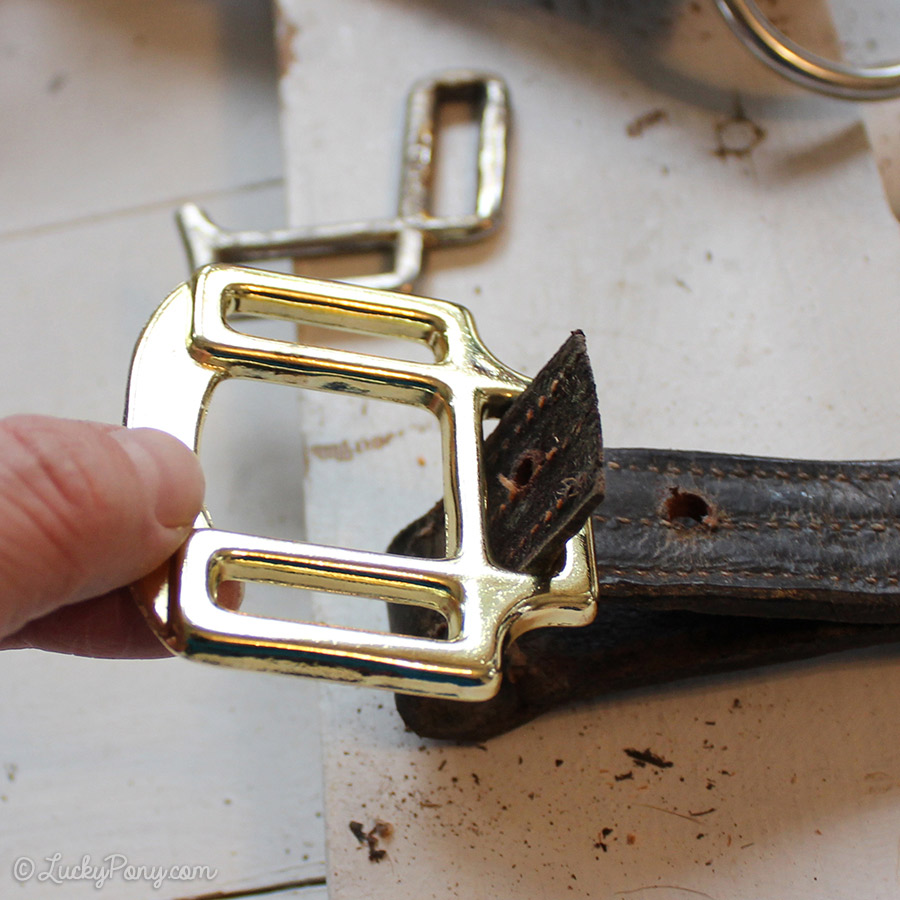
The layers will loosen from each other, allowing you to remove the broken square:
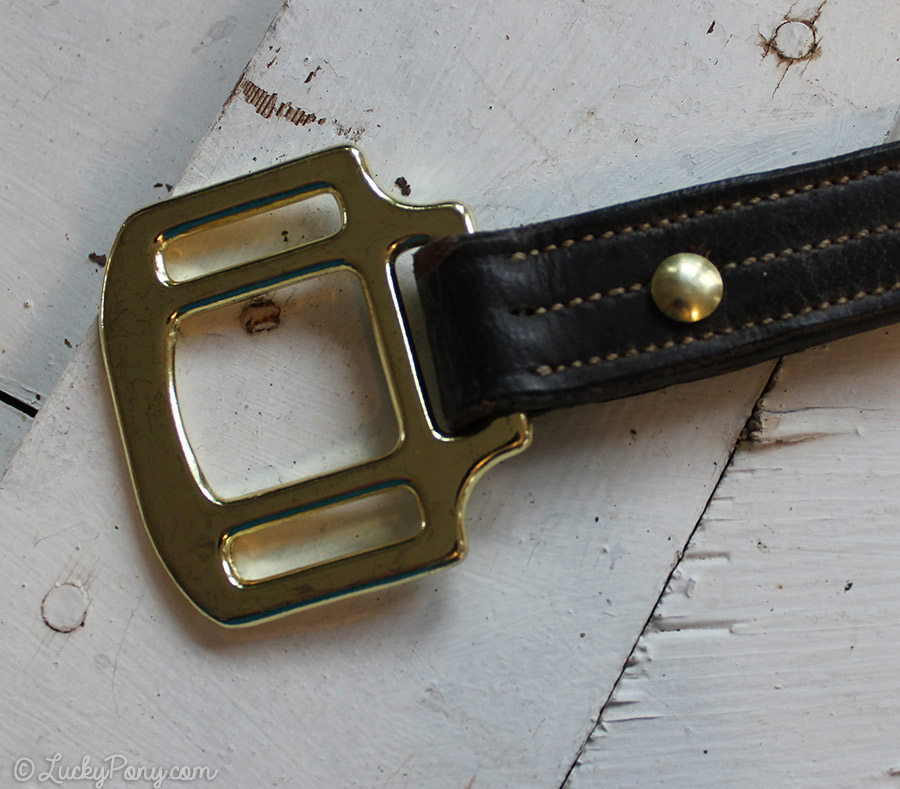
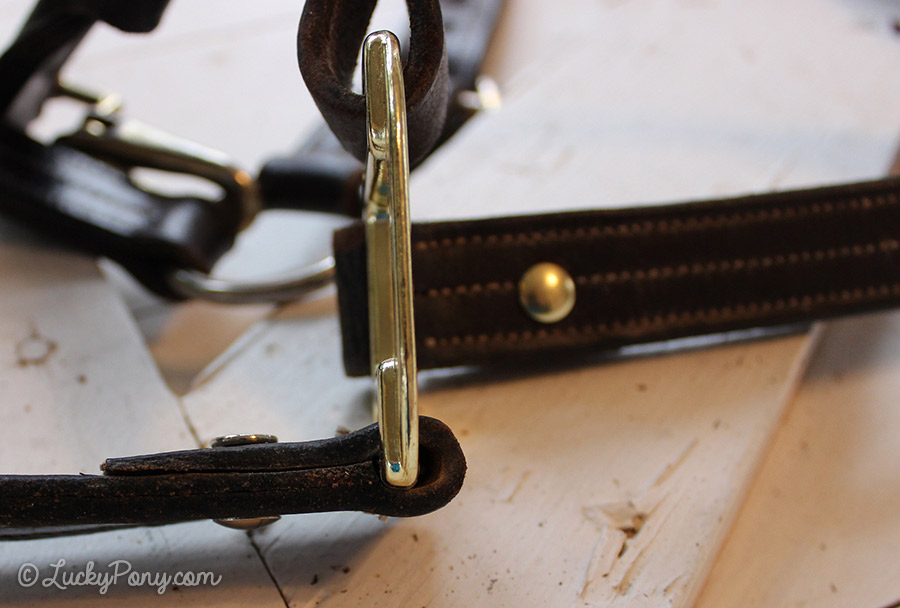
Now, replace the broken square with your new halter square. (Try not to get distracted by photography and place it on backwards, like me!) The prettier side of the square should face the outside of the halter.
Position your layers of leather back in place (you can add a high-adhesive glue if you’d like, like Ever Tack. This won’t strengthen the fuse, but will help prevent the stitching from unraveling)
Ok- so chicago screws come in two pieces: the post and the screw. The screw is the piece that looks like, well, a screw. The post is the other side of the screw- a threaded tube into which the other side screws into.
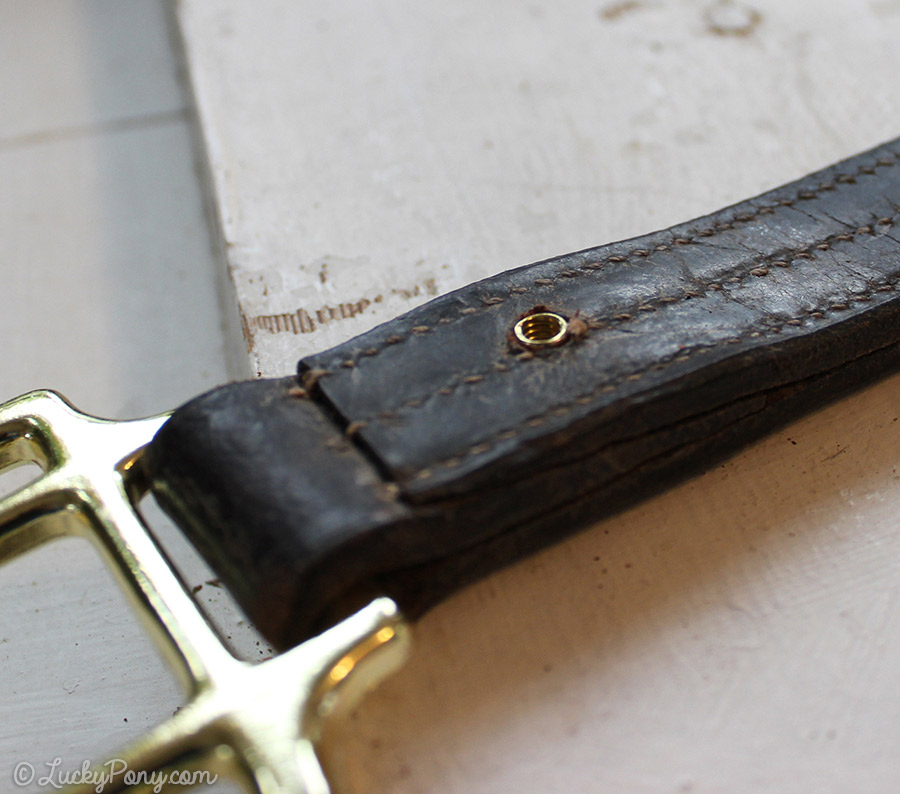
Place the post side of the chicago screw through the hole you drilled. Pre-drilled holes make sure everything lines up just right:
If your Chicago screw is sized just right, it should look something like this:
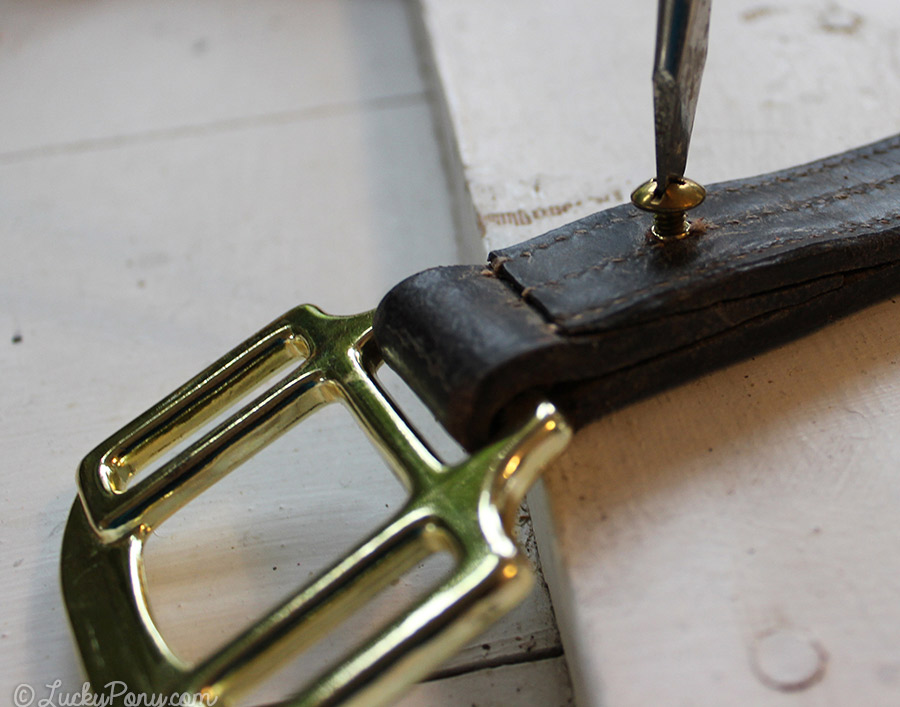
Now, add the screw and tighten. You’ll need to use your finger on the post end to hold the post secure so the screw tightens instead of just spinning the whole chicago screw.
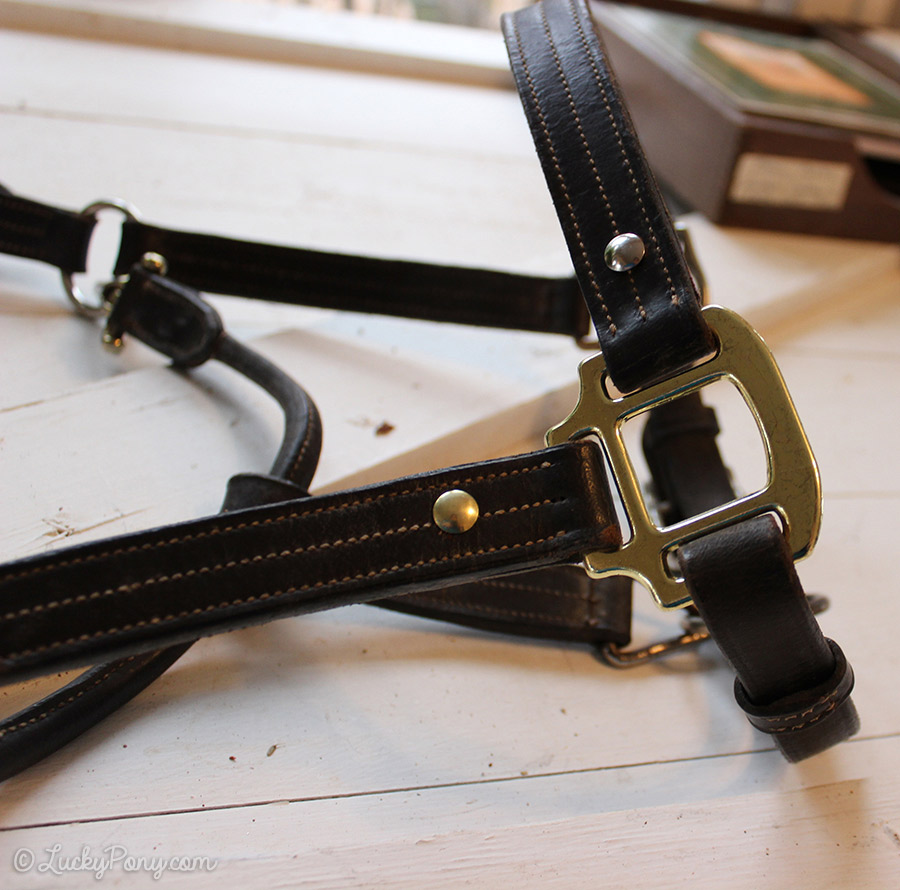
Wa la! Off center but gets the job done!┬á For a really secure connection (i.e. to use for tying and not just turnout) you’ll probably want to add two chicago screws, spaced .5-1″ apart, and secure with a drop of superglue on the inside threads to help prevent accidental loosening.
Step 3
Unbuckle your chin strap and re-buckle through the new halter square. (If you have a fixed-chin style halter, you’ll need to repeat steps 1-2)
Step 4:
Repeat steps 1-2 on the noseband’s side of the halter square.
drill hole, cut stitching:
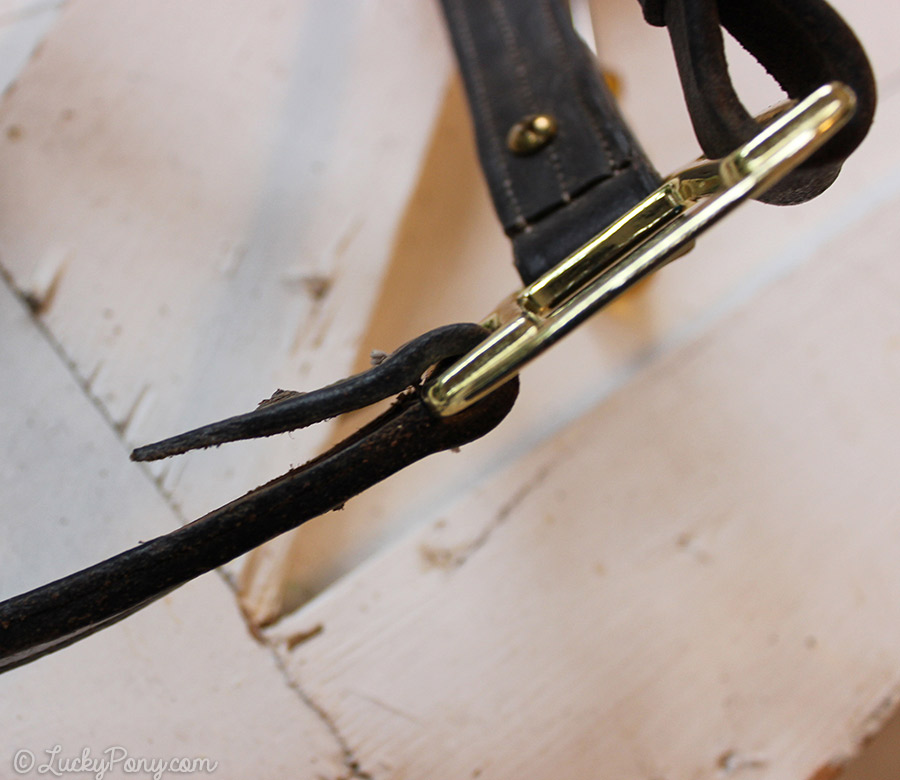
remove broken hardware, replace with new square:
Insert chicago screw post, and tighten screw
And that’s it!
A not-quite-good-as-new, but CHEAP and fast fix for an otherwise unusable halter! With new hardware and a few chicago screws, this old leather halter will work great as a turnout halter.
Stay turned for more tutorials on easy DIY tack repairs!
Have a halter you’d like fixed for free? Drop us a line via our contact us page, if you’ve got a halter with damage we think we can fix, and that we haven’t yet create a tutorial for, we may just pay shipping both ways for the opportunity to fix your halter for free!


Leave a Reply